
Master Beginner Sewing Techniques in Brampton
- Gellis Jerome-Milandou

- Oct 24, 2025
- 5 min read
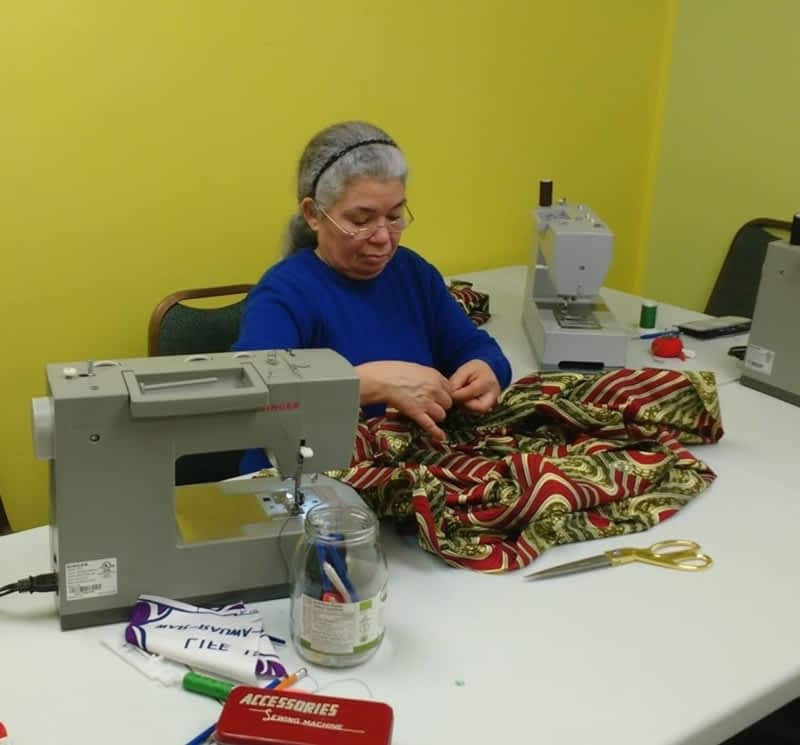
Starting to sew can feel overwhelming, but it doesn’t have to be. I remember my first time sitting in front of a sewing machine, unsure of where to begin. With the right guidance and practice, mastering beginner sewing techniques becomes not only possible but also enjoyable. Whether you want to create your own clothes, craft gifts, or even start a small business, learning these basics is the first step.
In this post, I’ll walk you through essential beginner sewing techniques. I’ll keep things simple, clear, and practical. By the end, you’ll feel confident to start your sewing journey right here in Brampton.
Why Learning Beginner Sewing Techniques Matters
Sewing is a skill that opens up endless creative possibilities. But before you can design your own outfits or alter clothes, you need a solid foundation. Beginner sewing techniques are the building blocks of every project. They help you:
Understand your sewing machine
Handle different fabrics
Sew straight and even seams
Finish edges neatly
Read and follow patterns
Mastering these basics saves you time and frustration. It also boosts your confidence to try more advanced projects later. Plus, sewing is a rewarding hobby that lets you express your style and make unique items.
If you’re in Brampton, you’re lucky to have access to great resources like infinitedesigns brampton, where you can get personalized instruction tailored to your pace and goals.
Essential Beginner Sewing Techniques You Should Know
Let’s dive into the key techniques every beginner should master. I’ll explain each step clearly and give you tips to practice.
1. Threading the Sewing Machine
Before you sew, you need to thread your machine correctly. This might seem tricky at first, but it’s straightforward once you get the hang of it.
Start by placing the spool of thread on the spool pin.
Follow the threading path indicated on your machine, usually marked with numbers or arrows.
Thread the needle from front to back.
Pull a few inches of thread through the needle to prevent tangling.
Practice threading your machine several times until it feels natural. This step is crucial because improper threading can cause skipped stitches or thread breaks.
2. Winding and Inserting the Bobbin
The bobbin holds the thread for the underside of your stitches. Here’s how to wind and insert it:
Place an empty bobbin on the bobbin winder spindle.
Guide the thread from the spool through the bobbin winding tension disc.
Push the bobbin winder to the right to engage it.
Press the foot pedal or start button to wind the bobbin evenly.
Once full, cut the thread and remove the bobbin.
Insert the bobbin into the bobbin case, making sure the thread pulls in the correct direction.
Getting comfortable with your bobbin will help your sewing run smoothly.
3. Sewing Straight Seams
Sewing straight seams is the foundation of most projects. Here’s how to practice:
Use a scrap piece of fabric.
Align the fabric edges and pin them together.
Place the fabric under the presser foot, aligning the edge with the seam guide on your machine.
Lower the presser foot and start sewing slowly.
Keep your eyes on the seam guide, not the needle.
Remove pins as you sew.
Practice sewing straight lines until your stitches are even and consistent.
4. Backstitching to Secure Seams
Backstitching locks your stitches in place so they don’t unravel.
At the start of your seam, sew forward a few stitches.
Then sew backward over those stitches.
Continue sewing forward to the end of the seam.
Repeat the backstitch at the end.
This simple step strengthens your seams and is essential for durable sewing.
5. Finishing Seams
Raw edges can fray and weaken your project. Here are beginner-friendly ways to finish seams:
Zigzag stitch: Use your machine’s zigzag setting to sew along the raw edge.
Pinked edges: Use pinking shears to cut the fabric edge in a zigzag pattern.
Seam binding: Sew bias tape over the seam edge for a clean finish.
Try these methods on scrap fabric to see which you prefer.
How to Choose the Right Fabric and Tools for Beginners
Choosing the right materials makes sewing easier and more enjoyable. Here’s what I recommend for beginners:
Fabric
Start with cotton or cotton blends. They are easy to handle and sew.
Avoid slippery or stretchy fabrics like silk or jersey until you gain more experience.
Choose light to medium weight fabrics for your first projects.
Tools
A basic sewing machine with straight and zigzag stitch options is perfect.
Sharp fabric scissors and pins are essential.
A seam ripper will save you from mistakes.
A measuring tape and fabric chalk help with accurate cutting and marking.
Having the right tools and fabric sets you up for success.
Practice Projects to Build Your Skills
The best way to master beginner sewing techniques is by working on simple projects. Here are some ideas to get you started:
1. Pillowcase
A pillowcase is a great first project. It involves straight seams and simple finishing.
Cut two pieces of fabric to size.
Sew three sides together with a straight stitch.
Finish the edges with a zigzag stitch or pinking shears.
Turn it right side out and press.
2. Tote Bag
A tote bag introduces you to sewing handles and box corners.
Cut fabric for the bag body and handles.
Sew the sides and bottom.
Attach handles securely.
Finish seams neatly.
3. Simple Skirt
Once you’re comfortable, try a basic elastic waist skirt.
Cut fabric to your measurements.
Sew side seams.
Create a casing for the elastic at the waist.
Insert elastic and sew the casing closed.
Each project reinforces your skills and builds confidence.
Where to Find Sewing Support and Resources in Brampton
Learning to sew is easier with support. Brampton offers several options to help you grow your skills:
Local sewing classes: Look for beginner-friendly workshops.
Sewing groups: Join community groups to share tips and projects.
Online tutorials: Use videos and blogs for step-by-step guidance.
Personalized instruction: For tailored help, check out infinitedesigns brampton. They offer comprehensive lessons designed for beginners and aspiring designers.
Having a mentor or community can make your sewing journey more fun and productive.
Keep Sewing and Enjoy the Process
Sewing is a skill that improves with practice. Don’t worry about mistakes - they are part of learning. Keep practicing these beginner sewing techniques regularly. Try new projects, experiment with fabrics, and challenge yourself little by little.
Remember, every expert was once a beginner. With patience and persistence, you’ll soon create beautiful, handmade items you can be proud of. Enjoy the creative process and the satisfaction that comes with making something with your own hands.
Happy sewing in Brampton!
💬 Stay Connected
🔗 Sewing Classes Info:
🔗 Foot Care Nursing:
Subscribe and watch our YouTube channel: https://www.youtube.com/c/milandou01
Shop My Amazon Store:


Comments